Picture
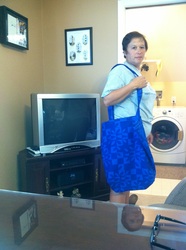
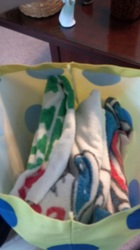
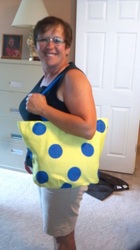
This week's posts are going to be a little bit out of order so bear with me! For our sewing tutorial of the week we are making a tote! You can never have enough totes and this one is GINORMOUS! So it is perfect for the beach/pool! (Hint: to go with this awesome sauce tote check out the pool pocket towel aka my first post!)

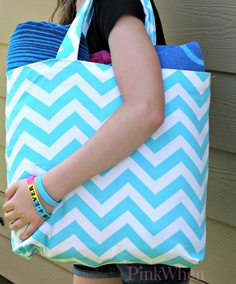
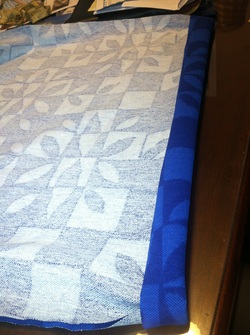
This website had very good instructions for making this bag and I think that our bag turned out great! However, we DID make some changes so if you would like to learn how to make an AWESOME tote that is big but has longer straps than the one in the picture on the left then keep reading! :)


HOW TO MAKE AN AWESOME BIG TOTE

What you will need: 

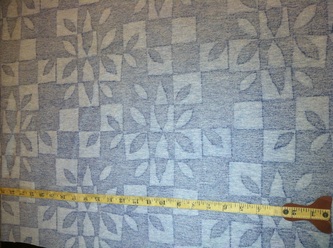
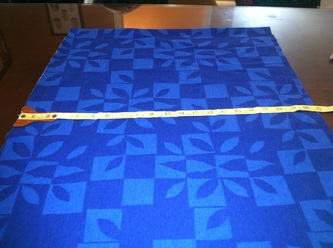
2 pieces of fabric 24" x 21.5" or 1 piece 48" x 21.5" (to be folded over) for the bag
2 pieces of fabric 47" x 3.25" for the straps

2 pieced of Pre-Cut interfacing 1.5" wide

My mom and I decided to cut 1 big piece of fabric and fold it over instead of worrying about pinning and having 3 edges to line up! :) 
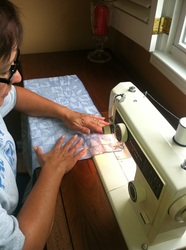
Once you have lined up your edges (Right sides facing each other, basically the bag will be inside out once you have sewn the edges)  sew either the two sides of the big piece or the two sides and whichever side you want to be your bottom piece.
Picture
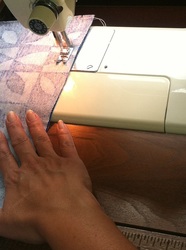
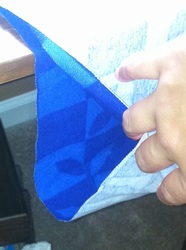
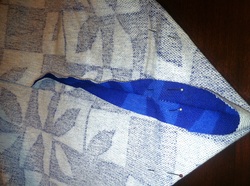
The next step was a little bit confusing when I first read it, but basically what you are doing is, with the bag still turned inside out, going to the bottom corners and measuring out triangles in each corner, we measured 5" wide and 2" deep into the bag. What you are going to do is mark wherever you want the triangle to stop and then sew a straight stitch across. We decided to double stitch this for sturdiness because you are essentially making the bottom of the bag. We pinned the pins down the opposite direction of how the original pin has them done so that we were able to sew right over them with the sewing machine. We also pinned down the extra fabric from the seem as you can see in the picture so that the extra fabric is flat on each side instead of all to one side. 

Once you have sewn both sides of the bottom of the bag you are almost done with the body! YAAYY!! :) 

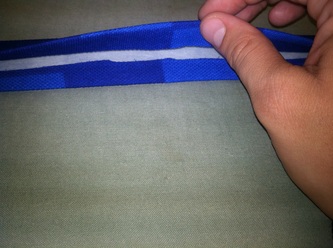
It's now time to move onto the straps! This original post did not mention whether or not they used interfacing so I am assuming that they did not, well...we did. To make the straps, cut a piece of fabric the length that you would want them, and width of 3.25 inches. 

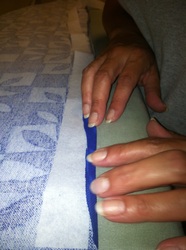
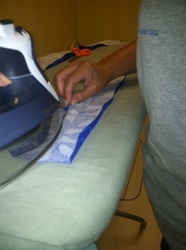
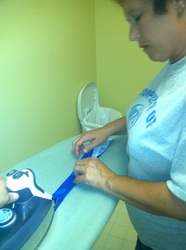
Fold over about 1/8 of an inch onto the interfacing on each side and iron until there is a crease so that your raw edges will be hidden. 

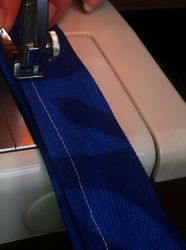
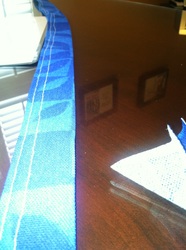
Once you have a crease on each side, fold the strap, with interface inside, in half so that none of the interfacing is showing and iron to have a finished look. (Hint: If you can have an extra hand to push the iron along for you it makes the process a lot easier!) You will still have one open side to your strap so you will need to pin and go over to the sewing machine and close up the strap with a doubled straight stitch. Once you have done that your straps are complete! 


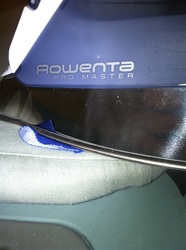
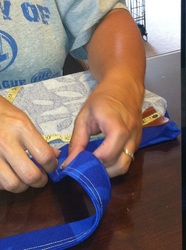
                         **Below is a gallery of step by step how to do the straps**
Picture
                                                Only two steps left!!! 

The next step to this bag is to create a finished edge at the top of the bag. All you have to do for this is fold down the raw edge at the top of the bag, pin it down where you want it, and sew!


Once you have created a finished edge for the top of your bag you are ready to complete the FINAL STEP!! :) Attaching the straps is the last step, to attach them, measure out how far down you want the bag to hit you by holding the bag up to you with the straps. Once you have got your bag at a comfortable length pin them to the inside of the bag and sew them on, my mom decided to sew all the way around the strap so that it was like a square for added support. 


When you have sewn on your straps you have finished your bag! Turn it right side in and check it out! You're ready to go to the pool!

Questions? Comments? Concerns? Let me hear them! :) Don't forget! If you have a Pin that you want me to try out or have one that you've tried and want me and everyone else to know about it check out the "Suggested Pinsperiments" and "Pinsperiments From You" pages!
 
Picture
We have all seen the workouts on Pintrest and
 wondered how effective is this
ACTUALLY going to be? The first workout that I
 thought actually looked like it
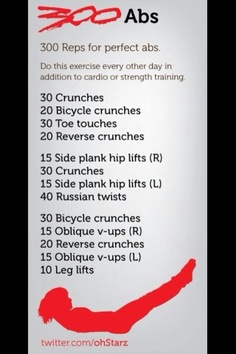
may be challenging was the "300 Abs Workout"
 promising to give you the abs of
the men in 300. Now ladies, I know that while those
abs look nice it's
not our ideal body image which is why this post is
dedicated to the men of
Pintrest! The video below is demonstrating how the
moves are to be done and the
effectiveness of the workout!
Enjoy!

 
Picture
Hello ladies and gents! I don't know about you but I LOVE Arnold Palmers! I think that they
are one of the most refreshing drinks you can have on a summer day with a mix of
sweet tea and lemonade. For my first drink recipe I wanted to find something
that is refreshing for summertime and something that I have never tried before!
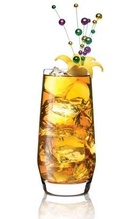
:)  As always, to see the original pin click on the picture. The sad part about this pin is that when you go to the link there are no reviews on how it tastes, it just shows the recipe and it's up to you to determine whether or not to test it out. Well that is a problem no more! I'm always here to help out so if you love Arnold Palmers as much as I do and you want to know how this drink tastes keep on reading!
 
How To make Fat Tuesday Iced Tea

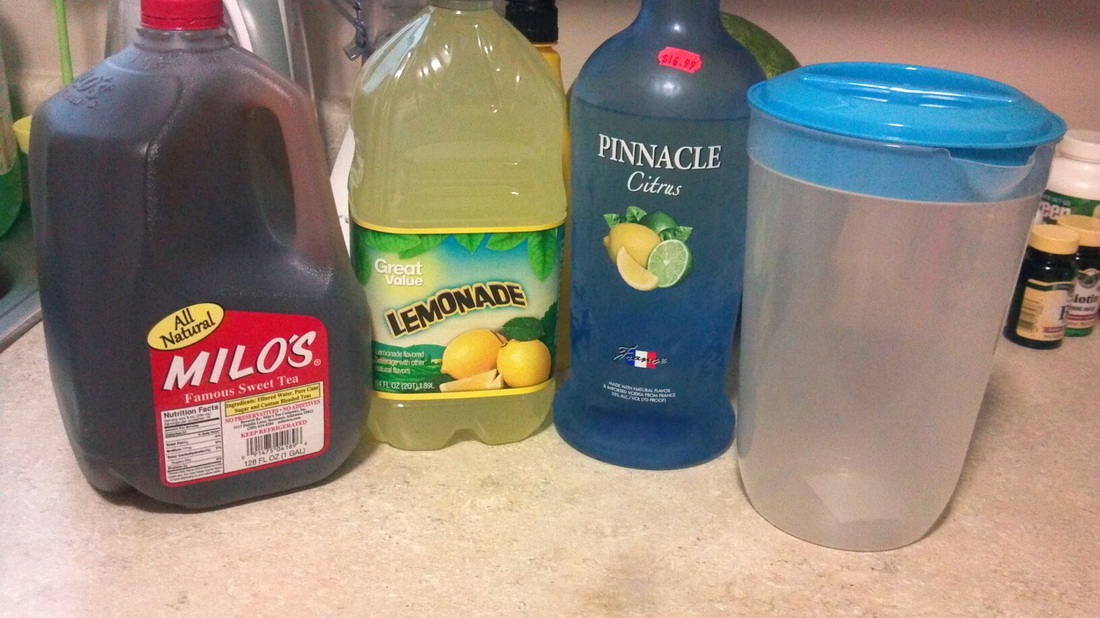
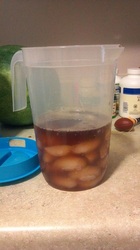
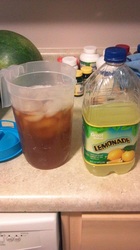
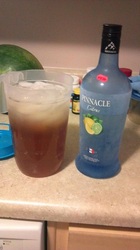
The recipe of the original pin gives the measurements for just one drink, but I never drink alone! So I adjusted the recipe to serve about 10 people. To start off you will need the following items; sweet tea, lemonade, and any type of Citrus vodka, I used Pinnacle Citrus; as shown below.
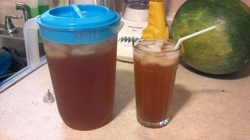
The steps are probably the easiest of all drinks I've ever made! All you do is combine the three ingredients! I decided to layer the drinks as follows: sweet tea, then vodka, then lemonade. Because I'm Italian I guesstimated on the measurements until the combination tasted good; however if you are a stickler on measurements the easiest thing to do is multiply the original measurements by 10 (ORIGINAL RECIPE CALLED FOR: 2 oz. Citrus Vodka, 1 oz. Lemonade, and 3 oz. Sweet Tea) I also added ice to the pitcher to get the Fat Tuesday Iced Tea cold as quickly as possible for taste testing!
Picture
AND THE VERDICT IS IN!!
If you are a fan of Arnold Palmers, Sweet Tea, or Lemonade then you will LOVE this drink! It is the perfect summertime refreshment on those hot afternoons! Be careful though! It is so tasty that this drink has the capability of sneaking up on you!

***DISCLAIMER***
Alcoholic beverages are to be consumed by those of legal age, if you are not of legal drinking age then leave
out the alcohol and just enjoy the classic Arnold Palmer! Your time will come to
add the kick, until then enjoy the simple things! :)
 
Picture
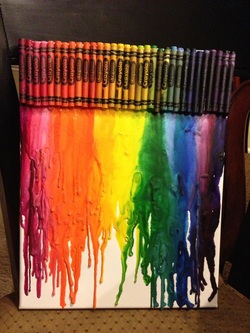
So here is a pin that I have been wanting to try for a long time but haven't had a reason to do it... until now! I have seen a lot of reviews about this art project, some that look beautiful like the one on the left and some that look like a big mess with an ugly mud brown color...So needless to say I was a little bit nervous about starting this project and how the outcome would be.

How To Make Crayon Art on Canvas
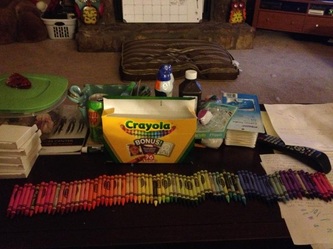
The first thing that I did to start this project is take out all of the 96 Crayola crayons. I picked Crayola because I know that they are a good sturdy crayon, well, as sturdy as crayons can be! Plus they have the pretty and bright colors.


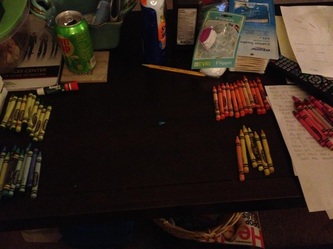
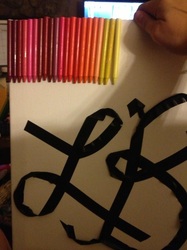
After I took all of the crayons out I separated the crayons based on colors. Then I put the crayons in a line from red to purple; I included every single crayon in the box so that it would be in the right shade order; my OCD came out a little bit on this project...once in the right order I removed any shades that were almost identical so that the crayons would fit onto the canvas. I also removed the wrappers from all of the crayons that I was going to use before mounting them to the canvas.

Picture
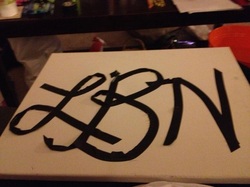
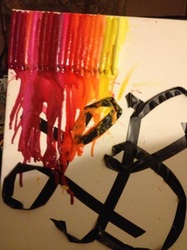
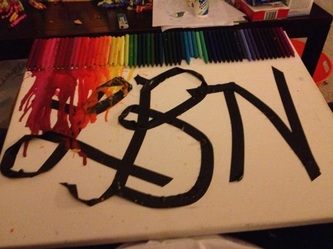
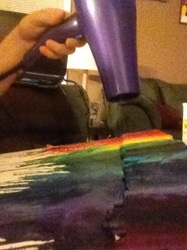
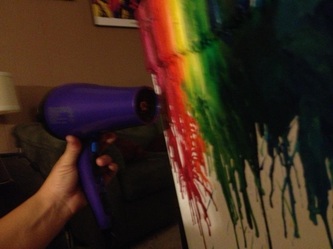
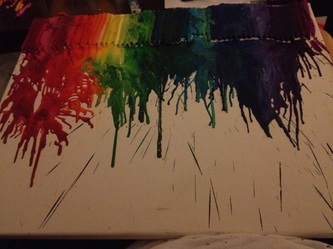
I wanted to do more than the standard melted crayon so I used some electrical tape and made a monogram. I was a little bit concerned using the tape because it kept pulling up..but I kept it on there for the sake of the project. I used Krazy Glue to mount the crayons from red to yellow...and then I ran out of Krazy Glue..so I used Sobo craft and fabric glue. This worked just as well as the Krazy Glue so I will probably just use that for the whole project next time. When I got the red, orange, and yellow crayons on I was so excited to try the project out that I started blow drying before I went digging for my craft glue! I was a little unsure of the best way to go about melting the crayons so I tried several different angles and found that the 2 best ways to melt the crayons is to hold the blow dryer either directly above the canvas or directly in front of the crayons. I also found that the crayons tend to just drip straight down instead of filling out like all of the pictures show; so I then took the blow dryer and started blowing around the wax that had melted onto the canvas. Below are pictures of my first experience melting crayons!

Sadly, the electrical tape did not work out like I had hoped...when I started working on the rest of the colors the tape was blowing off and crayon was going where I didn't want it to go so I said forget it and took the tape off. Once I did this it was a MUCH more enjoyable project to work on...If you are dying to have a part of your art blocked out I would suggest taping/gluing a paper cut out of what you want put onto the canvas instead of just using electrical tape! Below is a gallery of the rest of the project and my finished product! Overall I would say that this is a fun and easy project to do. If you are a babysitter/nanny for children around 8 and up I would definitely suggest this as a fun activity for the kids to do! It is a low mess highly creative activity for anyone!
 
Picture
WOW! This blogging thing is a LOT harder to keep up on than I thought! Sorry that my posts are coming SO INCREDIBLY LATE! I am catching up today and I am going to be a LOT better about staying on top of this! I have some interesting pins to bring you all!

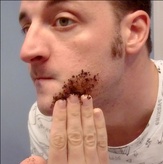
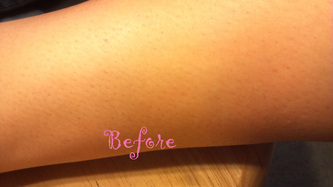
So I found this pin about hair removal and with summer being here I thought this would be the perfect pin to try! Especially if it worked, which I figured it would since a GUY is using it! Pretty rare for Pintrest pins! The description stated that you wouldn't have to shave for a week after using this scrub!


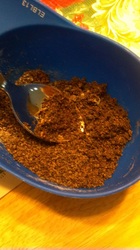
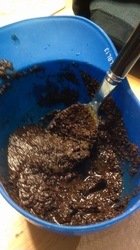
The recipe for the scrub is 2 tables spoons of coffee grounds mixed with one 
tables spoon of baking soda but when I mixed this it was very messy to put
onto my leg and it was basically doing nothing so I added one tablespoon of
water as well. But the mix still didn't look like a scrub for hair removal so I
added 2 more tables spoons of water and one
more tablespoon of baking soda which made it a lot easier to apply!
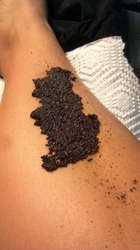
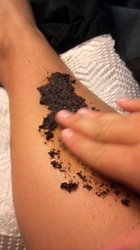
Once I made the adjustments to the scrub it was time to apply! As you can see below I patted a thin layer onto my leg and at first I wasn't really sure how to go about it so I left it sitting on my leg for about a minute; however when I didn't feel anything happening like a tingle or burn I decided that I would rub it into my leg...
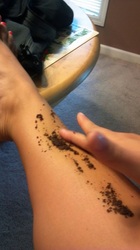
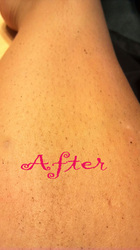
After scrubbing for about 5 minutes and feeling nothing I decided that I would wipe off the scrub..Sadly this is just another recipe that someone made up to trick us into thinking we might have an easy shaving season! Here are the results!
 
Picture
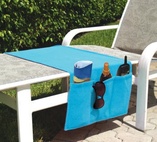
Hey Ladies and Gents! Don't you hate it when you go to the pool and your stuff ends up all over the pool? On top of the fact that you have a constant fear of setting your phone or book down somewhere with it ending up in a puddle? I know I do! Well one day, on Pintrest I came across a towel that drapes over the seat part of your pool chair  and it had POCKETS! So the first thing that I thought was I have to have this! One thing that you will soon learn about me is that anything with pockets, I MUST own! I love pockets! I think they're so handy! Sadly, the pin I found was what I call a "Trickery Pin"...What a trickery pin is, is a pin that shows something made out of household materials and says "DIY!" in the caption, but in reality it is just a link to go buy that item...man I can't stand trickery pins...So just for you DIYers I created a "How-To" so that you can make this handy pool item yourself! However, if you just like this and don't want to take the time to make one of your own I have attached the link to the site to buy them to this picture above. These are so handy! They will hold you suntan lotion, phone, mp3 player, book/magazines, snacks, sun glasses, etc.

                                                                        How-To Pool Pocket Towel

Picture
1. First and most obviously, you need to find a towel. One that you don't
absolutely love and one that is a little bit thinner than your other towels. The
towel that I used came up to about my neck, I'm 5' 7.5" to give you an
indication of length.  


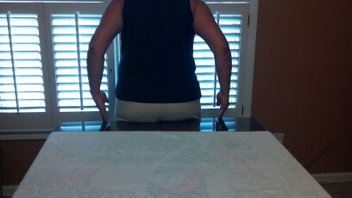
2. To start, I laid the towel out on the desk at my mom's
house and determined about how wide a lounge chair is and lined it up with the
center of the towel. As seen above. I then pinned the spot where the lounge chair would be as a reference point

Picture
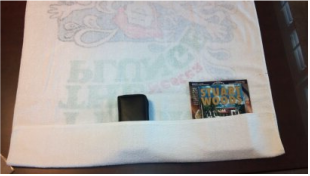
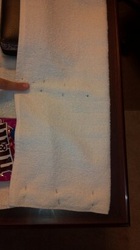
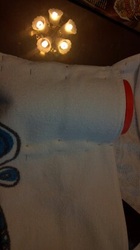
3. I picked some of the things that I wanted my pocket towel to be able to hold so I could judge where to pin the pockets. If you look at the picture you can see that I have the magazine standing up, however, when I tested it I decided to resize the pockets so that the magazine could lay sideways, this worked much better! Also, as you can see I originally had very shallow pockets, but my mom pointed out to fold the towel up so that the pockets started just below where the edge of the lounge chair was. And it's suggestions like that that I keep my mom around!

Picture
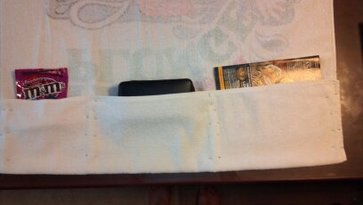
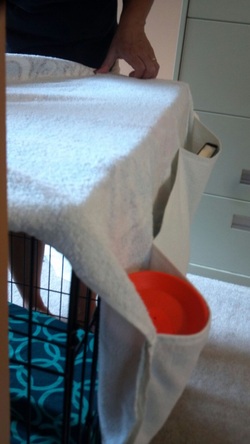
***To the right is a picture or the towel when it is pinned with the magazine now laying on it's side and the pockets have been made deeper.***

***The pictures below show more of the pinning of the pockets, including how to pin for a water bottle pocket.***

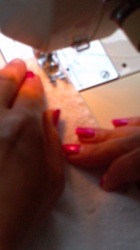
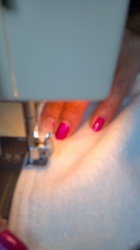
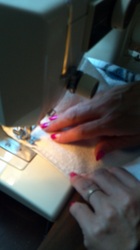
4. Once the pinning was finished it was time for mom to step in! We used white
thread since it was a white towel. She did a straight stitch. To make the
pockets stronger she did a double stitch, meaning that once she sewed down the
pocket once she turned the fabric around and sewed back up the pocket.
Picture
Once all of the sewing is done you can test out the pockets to make sure that they work to your liking. And voila! You have your very own pool pocket towel!

**Additional options: We left our pool pocket towel with the edges unbinded, however, you can bind them with the sewing machine or by buying binding fabric.***

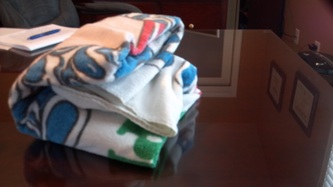
**Another nice thing about this towel is that you can put everything that you are taking to the pool and fold the towel up and stick it in your beach bag with your regular towel and everything is neat and organized!**