Picture
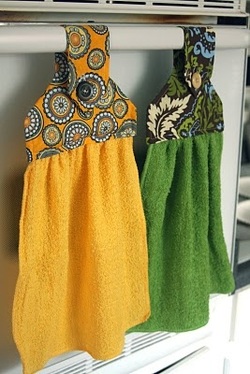
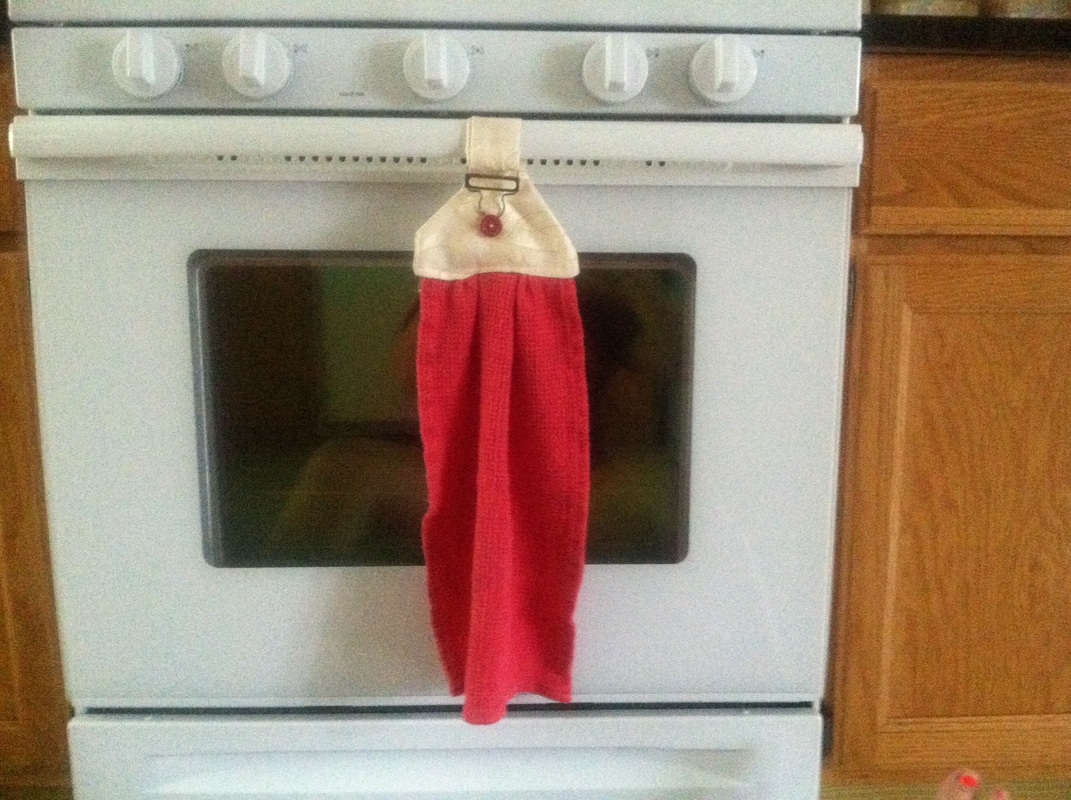
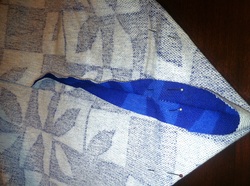
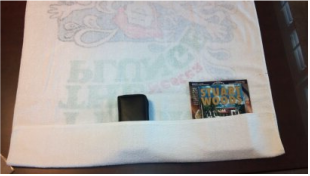
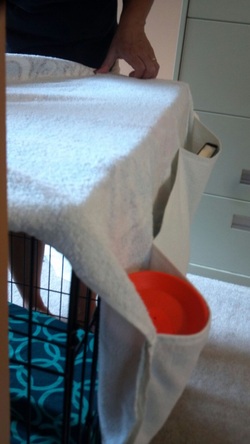
When surfing the Pintrestsphere for things to try on Pintrest Intrest I came across these towels! I don't know about anyone else but I have a huge issue with my towel on my oven always falling down after doing a quick hand dry or opening up the oven to check on my food that is baking; this is probably the most annoying thing in my kitchen! I have seen these hanging towels for sale in stores before but never wanted to pay for something that I was pretty sure could be hand made, I just never had the time to make a pattern and attempt this. So you can imagine my excitement when I stumbled upon this pin WITH A PATTERN!!!! I am warning you that I have changed this design up a little bit, so if you want to end up with what the picture to the left looks like then click on the link on the picture to the original pin! :)


HOW TO MAKE A HANGING KITCHEN TOWEL


Things you will need: 
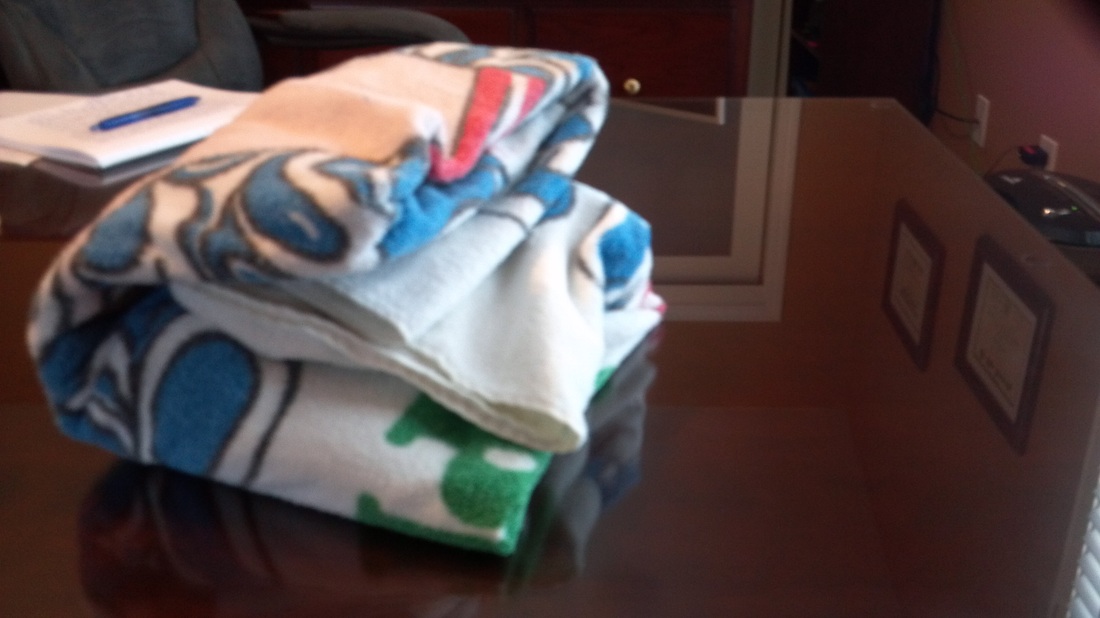
1 towel
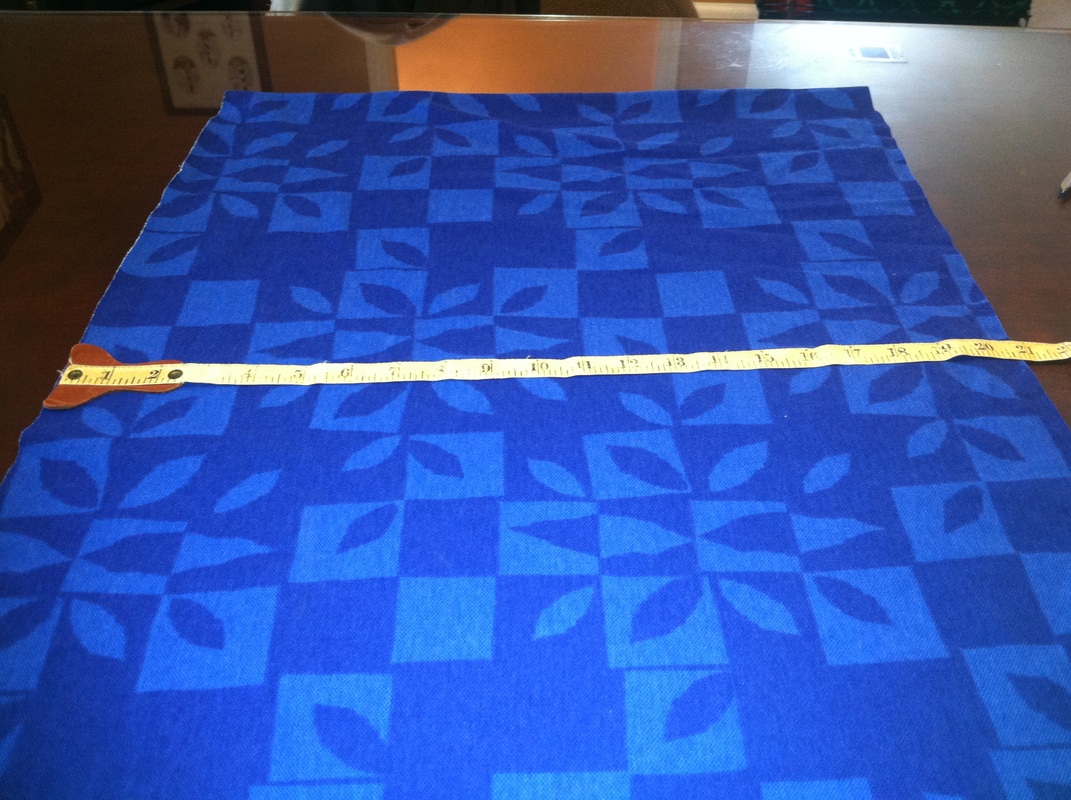
1/2 of a yard of coordinating fabric ( you won't use the full 1/2 yard but this is just in case there is a mess up)
1 button
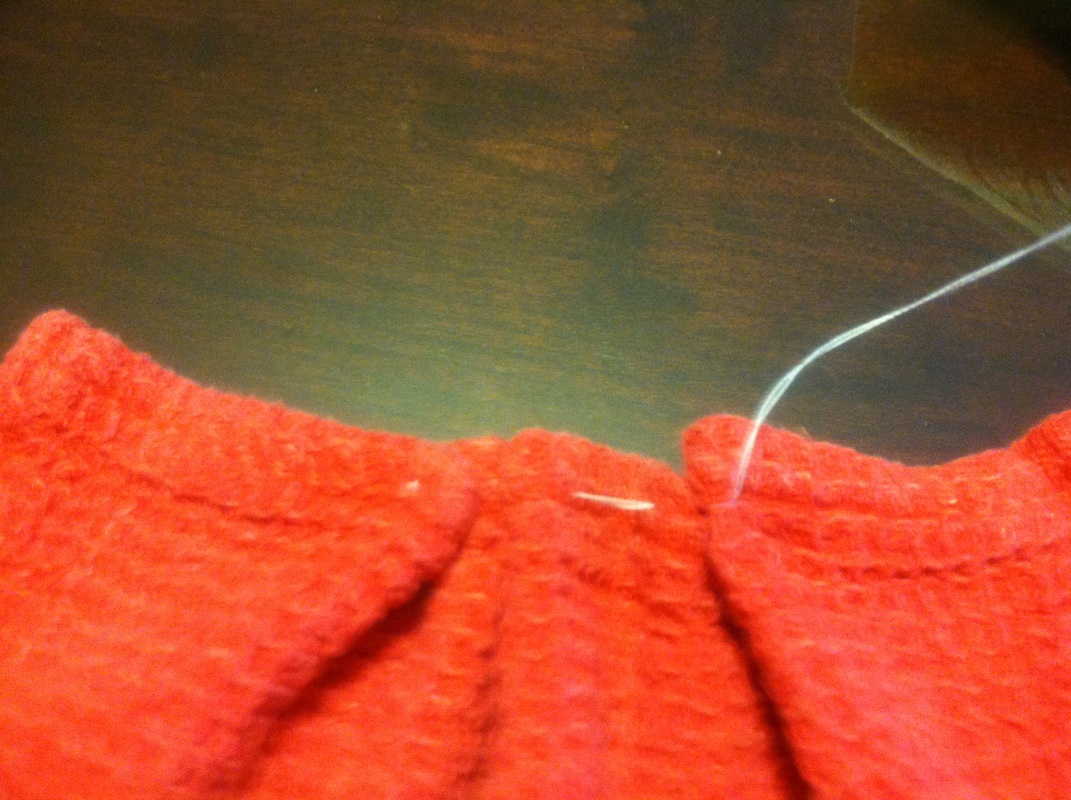
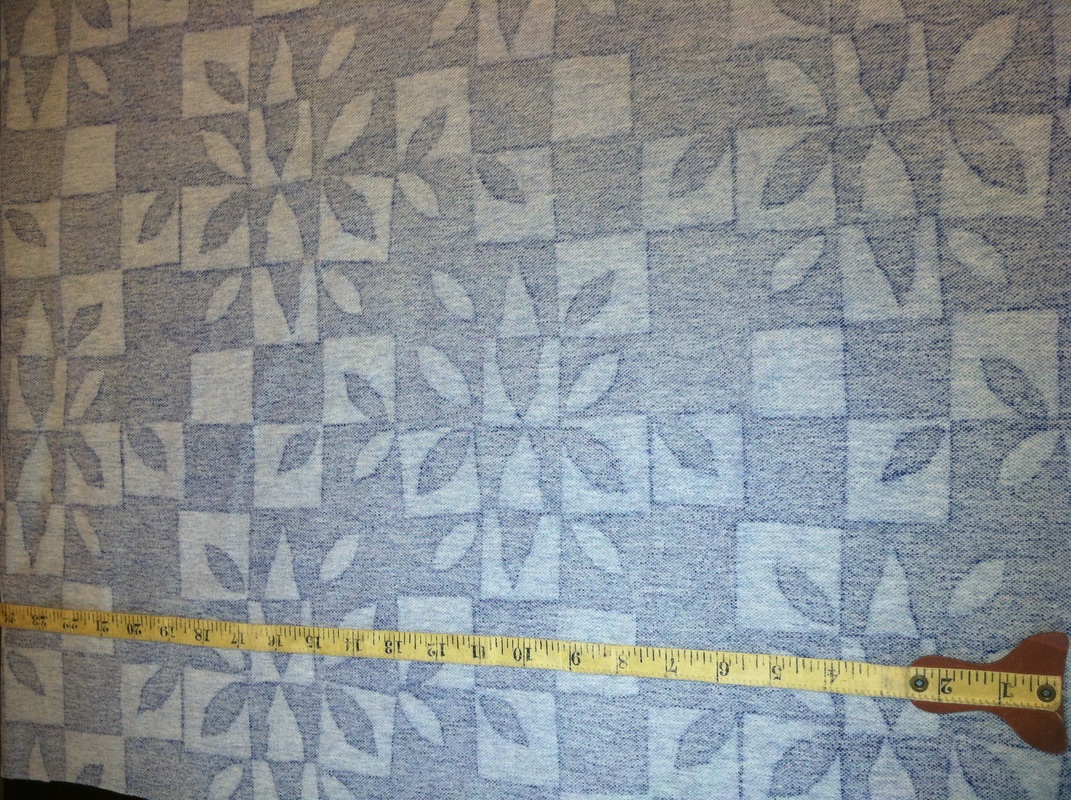
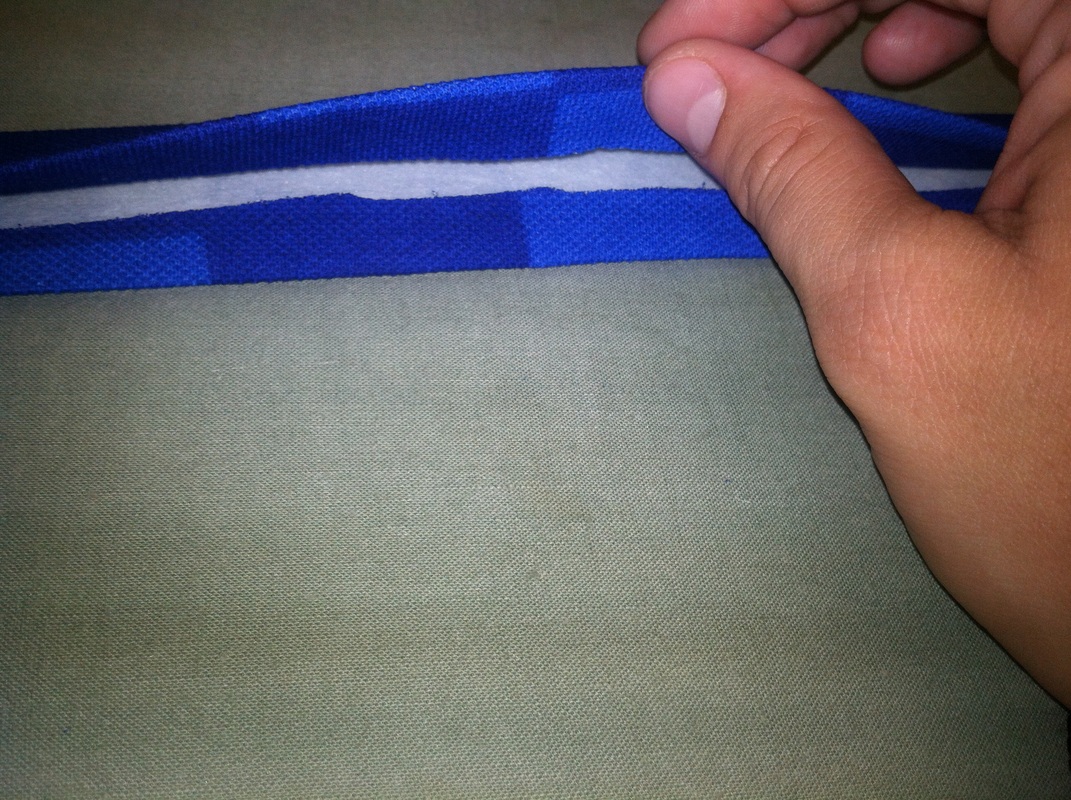
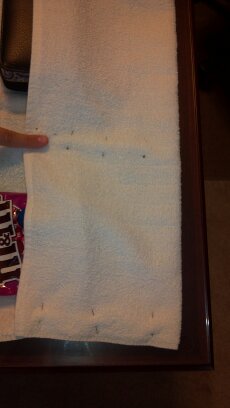
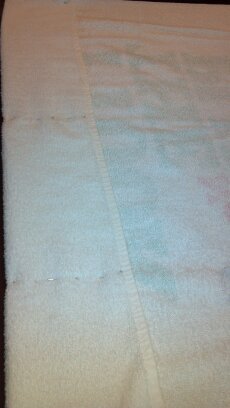
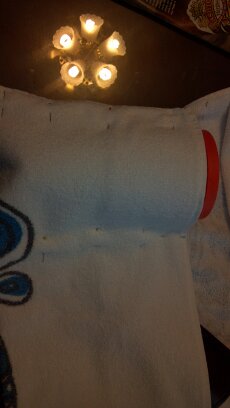
The first thing that you will do is, make the towel to be 6 inches wide, if it is a little bit less that is fine but it can't be bigger or it won't fit into the pattern. One thing that we didn't do before we started into this project is cut the trim off of the part that is going to go into the pattern, by doing this it will be a lot easier to pass through the sewing machine! Once you have gotten your towel ready you will pass a needle and thread through the top of the towel to give it pleated look. 
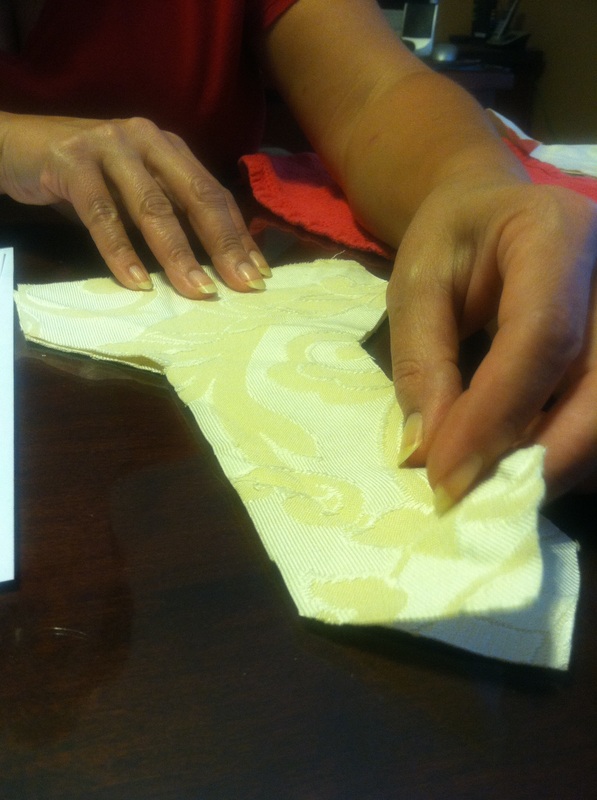
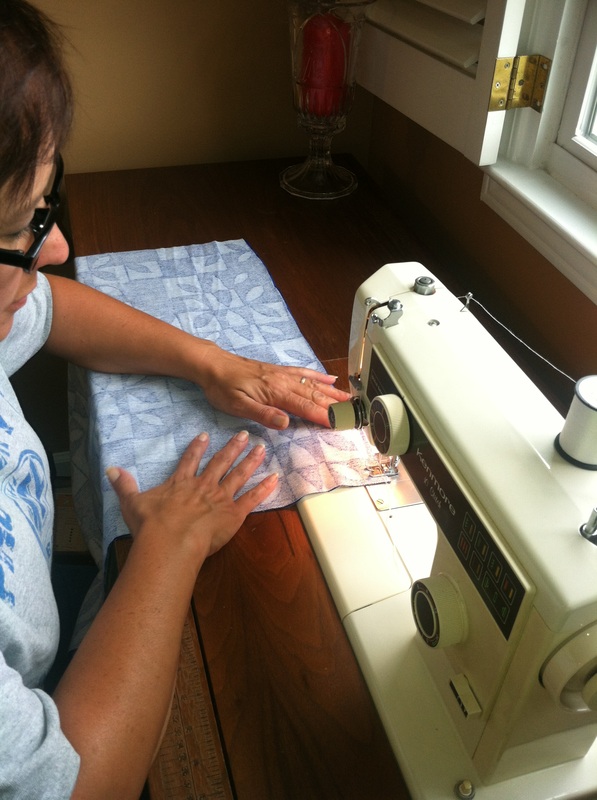
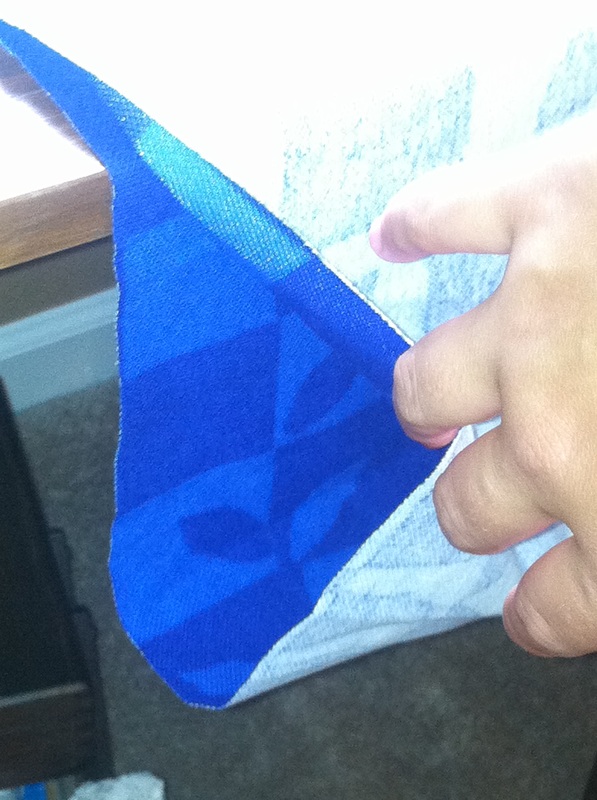
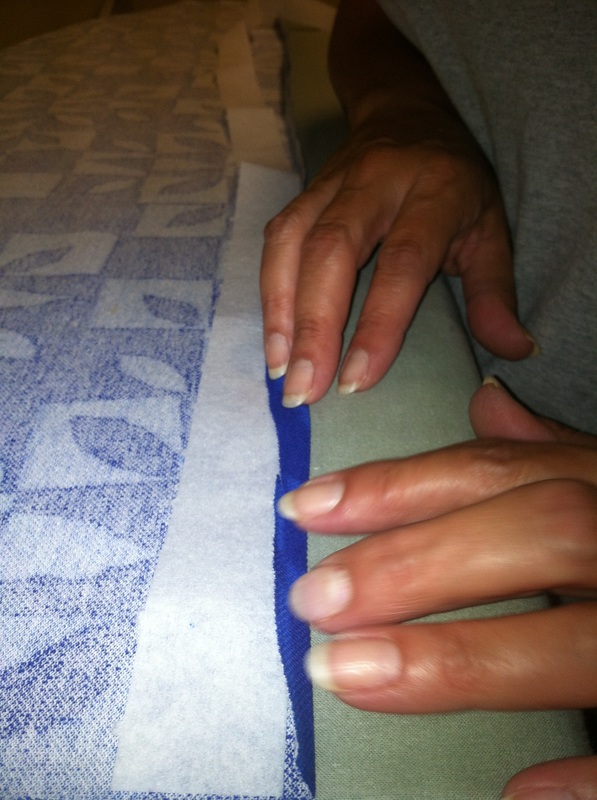
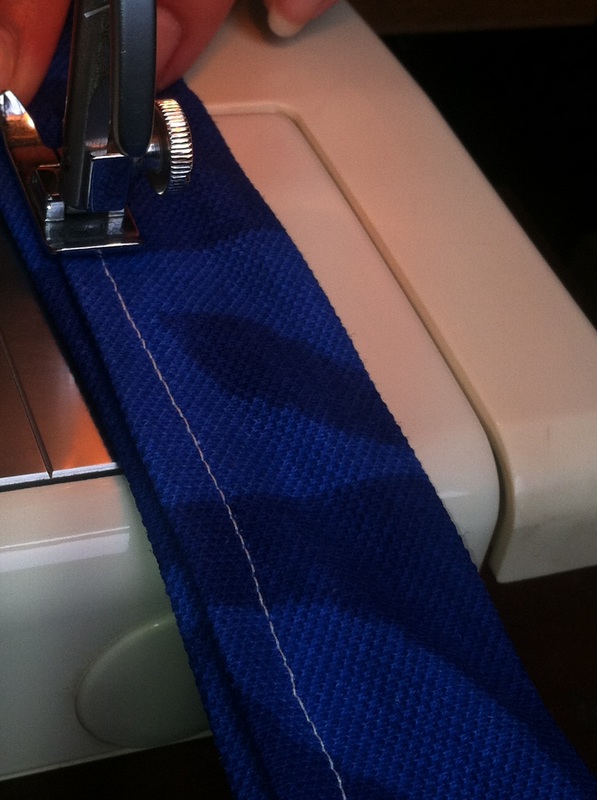
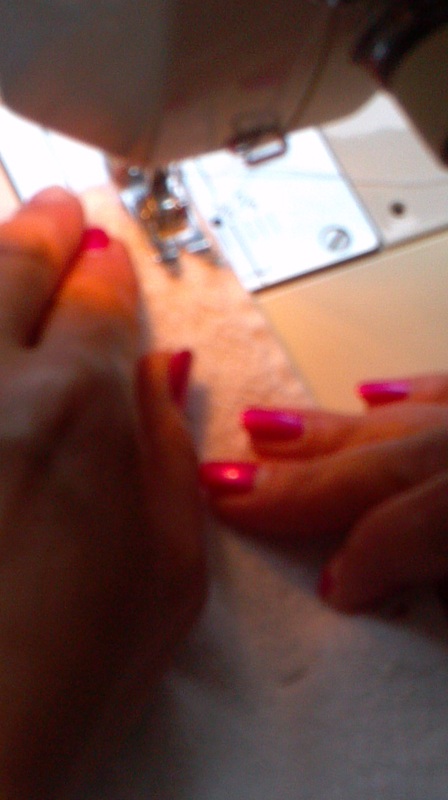
Once you have done this it is time for you to print out the pattern that is provided and cut out the fabric. We folded the fabric over so that the pattern was the exact same. Then place the two pieces with the right sides facing in. The instructions get a little bit confusing here...they imply that you need to stick the towel into the pattern and sew it in. However this makes one corner really bulking when sewing. So what should be done instead is sew the pattern around without the towel in the pattern. Hint: It makes it a lot easier if you pin the two pieces together so that they don't move. 
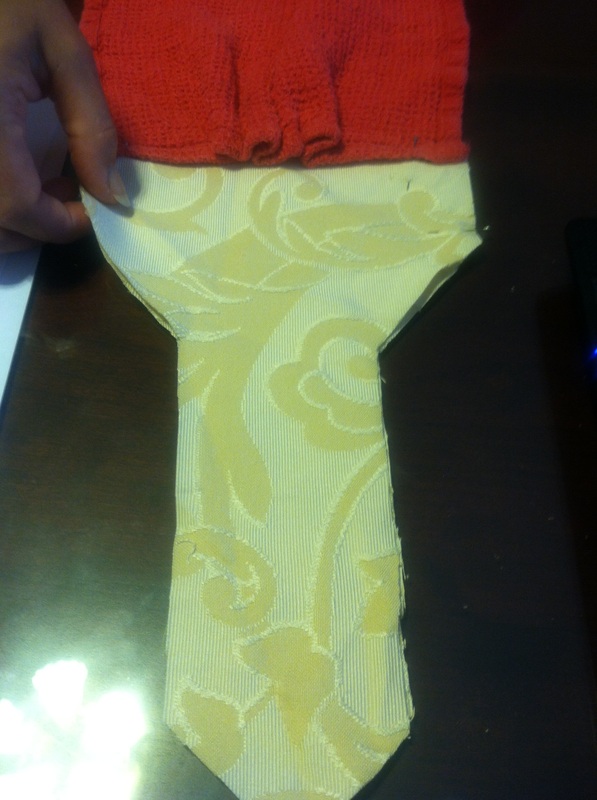
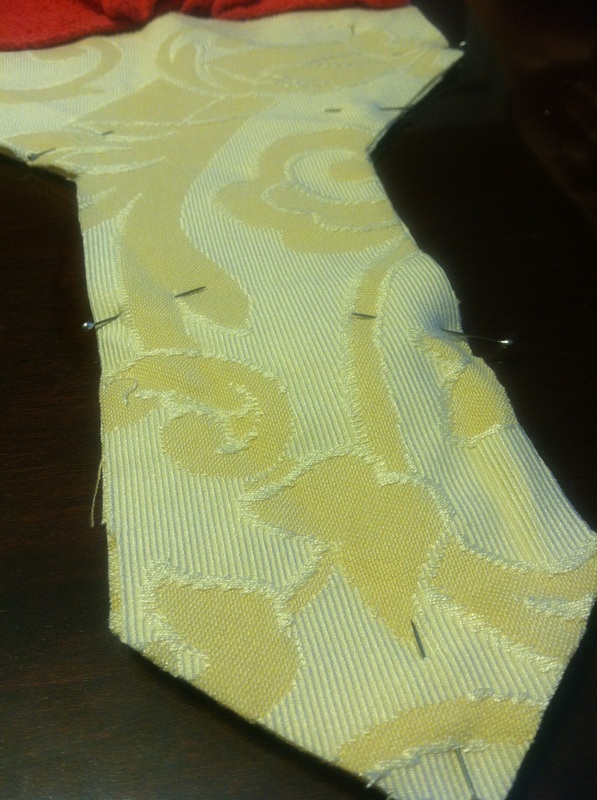
You will then need to sew the two pieces together. Going through it just one time will be enough because this part isn't holding anything up, just closing it up! :) Once you have sewn through the pattern you will need to turn it right side out. 


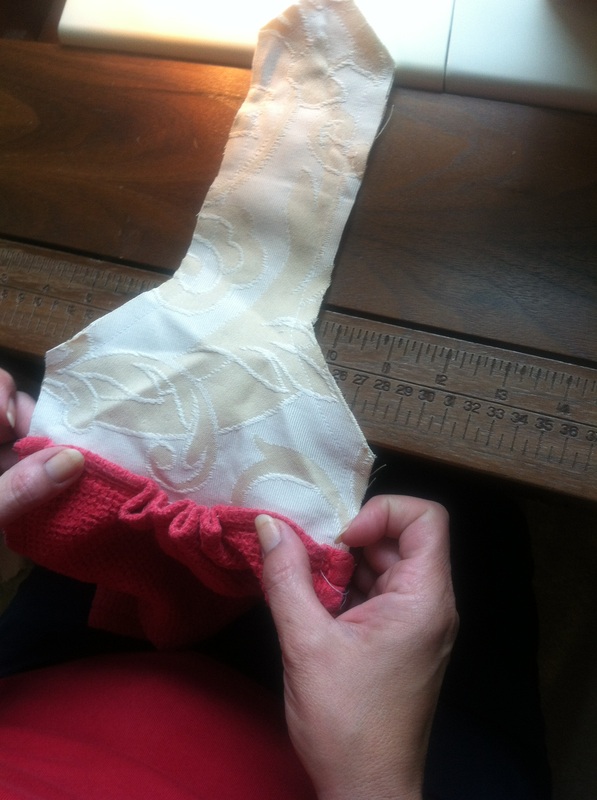
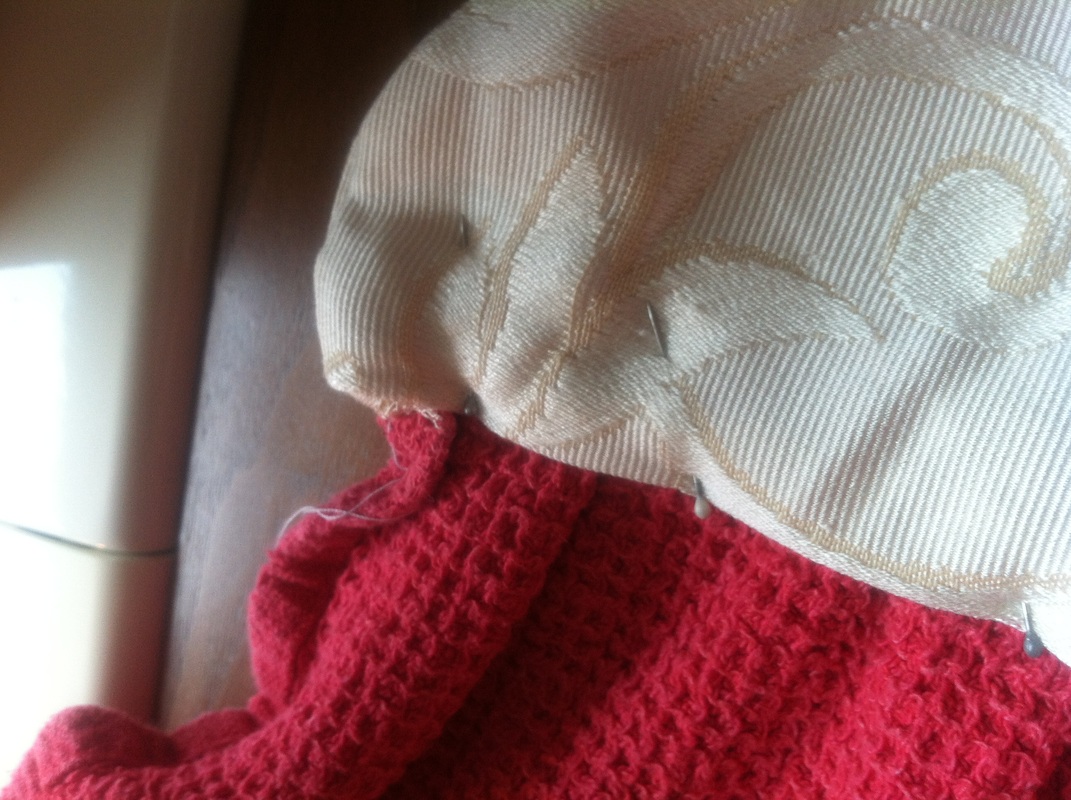
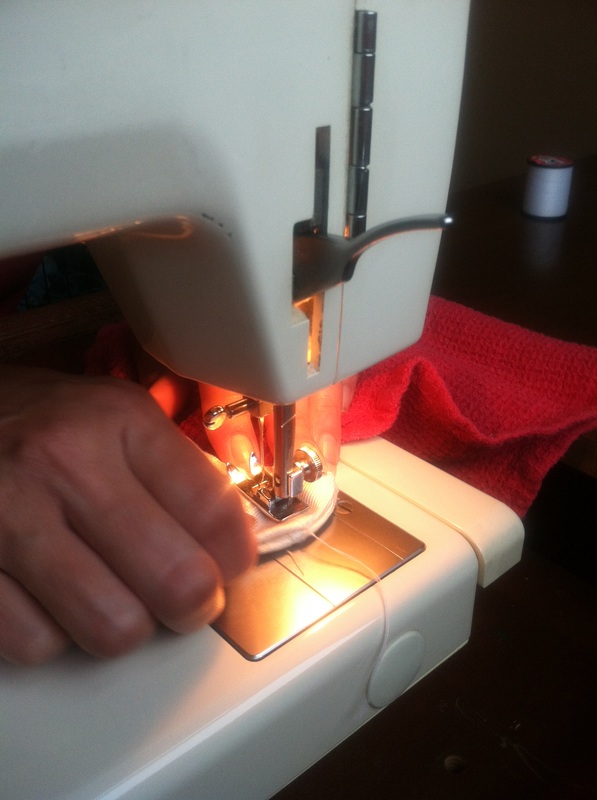
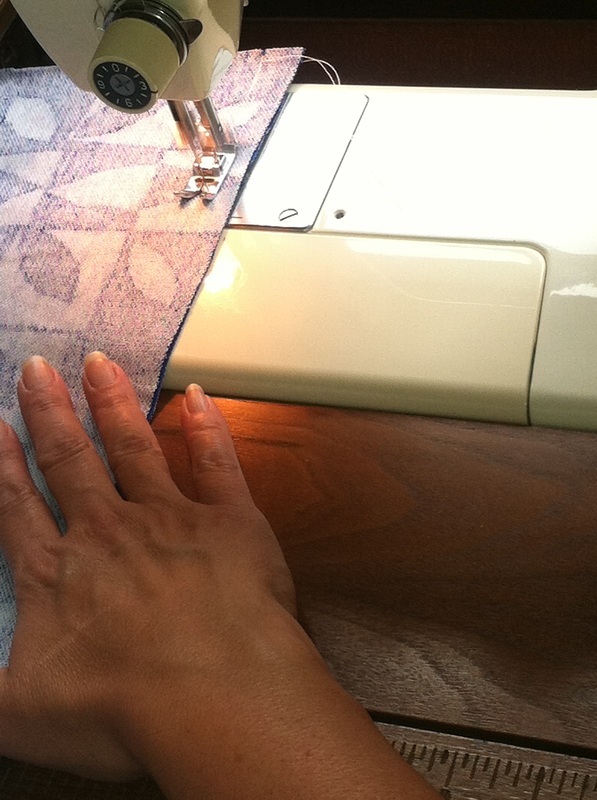
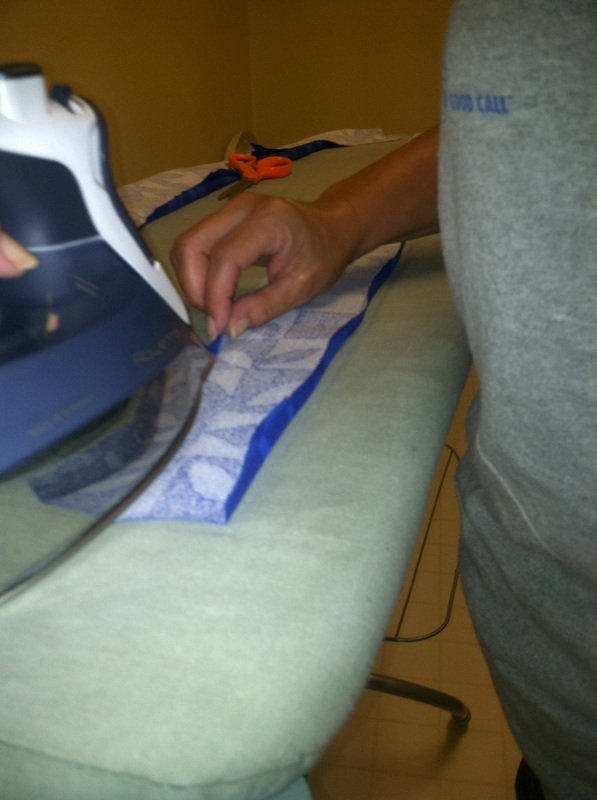
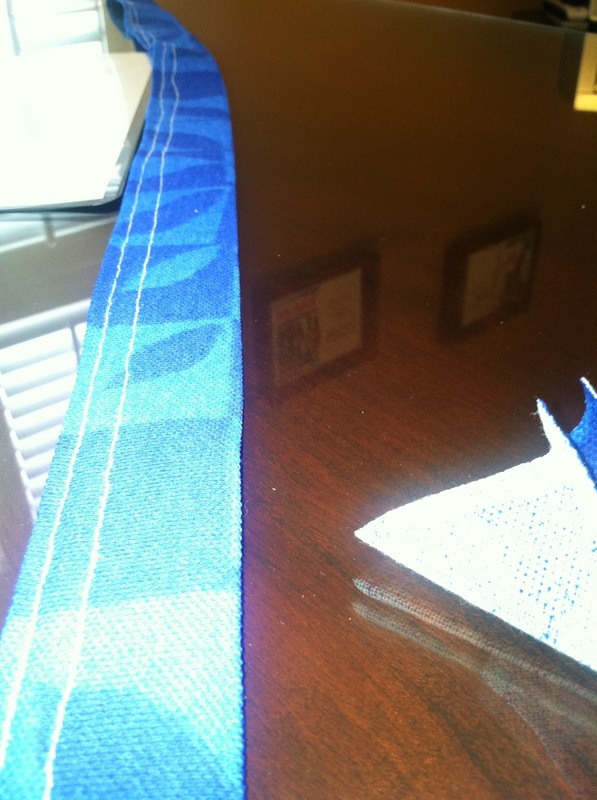
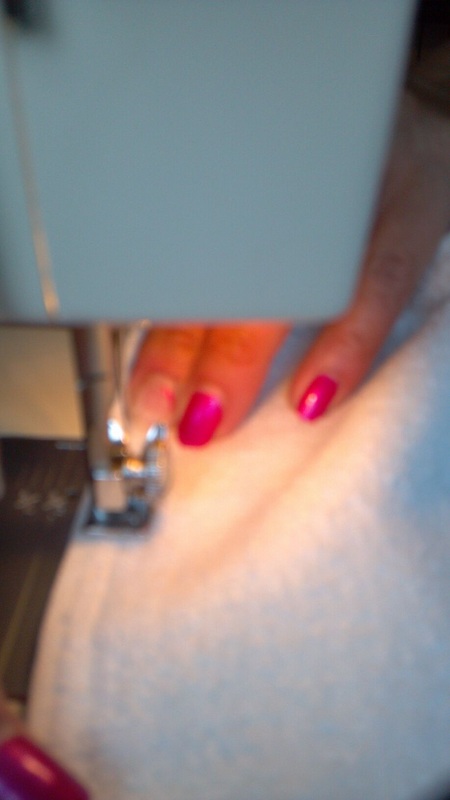
After completing that step you will need to attach the towel. All you need to do is stick the towel up about an inch into the pattern; this is so it will be sturdier to use on a daily basis. When sewing this part you need to make sure that your pleats in the towel stays, this gives it a nicer touch, you will also want to go over this part multiple times to ensure sturdiness. 
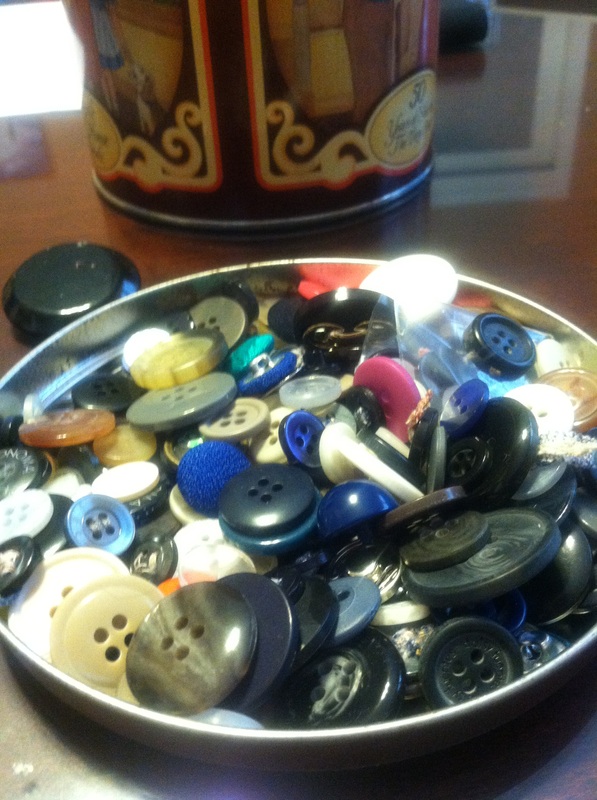
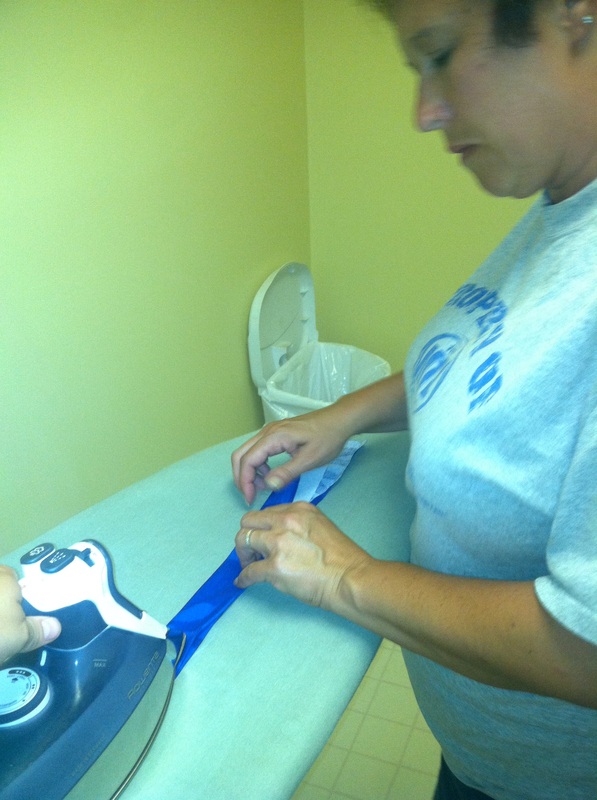
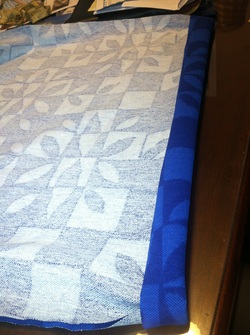
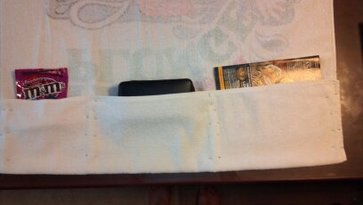
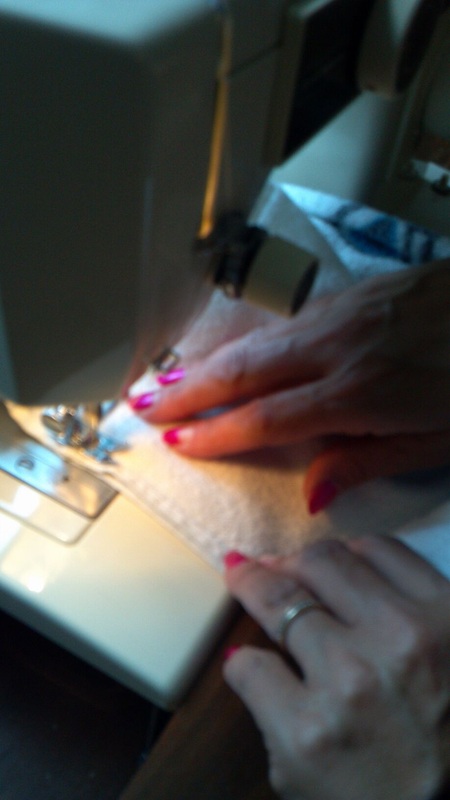
After you have attached the towel you only have one more step! Now in the directions it shows that you need to make a button hole...however in my mom's trusty jar of buttons we found an overall hood! Being that country chic seems to be the household style going on today I thought that would be a better (and easier) touch as opposed to making a button hole! You can find overall hooks at JoAnn's or Michael's and maybe even Walmart! So instead of making a button hold we wove the fabric through the overall hook and sewed on a button to match our towel! And voila! I present a Hanging Hand Towel! :) 
Have you tried the hanging hand towel? How'd yours turn out?! Let me know in the comment box below! 
 
Picture
This week's posts are going to be a little bit out of order so bear with me! For our sewing tutorial of the week we are making a tote! You can never have enough totes and this one is GINORMOUS! So it is perfect for the beach/pool! (Hint: to go with this awesome sauce tote check out the pool pocket towel aka my first post!)

This website had very good instructions for making this bag and I think that our bag turned out great! However, we DID make some changes so if you would like to learn how to make an AWESOME tote that is big but has longer straps than the one in the picture on the left then keep reading! :)


HOW TO MAKE AN AWESOME BIG TOTE

What you will need: 

2 pieces of fabric 24" x 21.5" or 1 piece 48" x 21.5" (to be folded over) for the bag
2 pieces of fabric 47" x 3.25" for the straps

2 pieced of Pre-Cut interfacing 1.5" wide

My mom and I decided to cut 1 big piece of fabric and fold it over instead of worrying about pinning and having 3 edges to line up! :) 
Once you have lined up your edges (Right sides facing each other, basically the bag will be inside out once you have sewn the edges)  sew either the two sides of the big piece or the two sides and whichever side you want to be your bottom piece.
Picture
The next step was a little bit confusing when I first read it, but basically what you are doing is, with the bag still turned inside out, going to the bottom corners and measuring out triangles in each corner, we measured 5" wide and 2" deep into the bag. What you are going to do is mark wherever you want the triangle to stop and then sew a straight stitch across. We decided to double stitch this for sturdiness because you are essentially making the bottom of the bag. We pinned the pins down the opposite direction of how the original pin has them done so that we were able to sew right over them with the sewing machine. We also pinned down the extra fabric from the seem as you can see in the picture so that the extra fabric is flat on each side instead of all to one side. 

Once you have sewn both sides of the bottom of the bag you are almost done with the body! YAAYY!! :) 

It's now time to move onto the straps! This original post did not mention whether or not they used interfacing so I am assuming that they did not, well...we did. To make the straps, cut a piece of fabric the length that you would want them, and width of 3.25 inches. 

Fold over about 1/8 of an inch onto the interfacing on each side and iron until there is a crease so that your raw edges will be hidden. 

Once you have a crease on each side, fold the strap, with interface inside, in half so that none of the interfacing is showing and iron to have a finished look. (Hint: If you can have an extra hand to push the iron along for you it makes the process a lot easier!) You will still have one open side to your strap so you will need to pin and go over to the sewing machine and close up the strap with a doubled straight stitch. Once you have done that your straps are complete! 


                         **Below is a gallery of step by step how to do the straps**
Picture
                                                Only two steps left!!! 

The next step to this bag is to create a finished edge at the top of the bag. All you have to do for this is fold down the raw edge at the top of the bag, pin it down where you want it, and sew!


Once you have created a finished edge for the top of your bag you are ready to complete the FINAL STEP!! :) Attaching the straps is the last step, to attach them, measure out how far down you want the bag to hit you by holding the bag up to you with the straps. Once you have got your bag at a comfortable length pin them to the inside of the bag and sew them on, my mom decided to sew all the way around the strap so that it was like a square for added support. 


When you have sewn on your straps you have finished your bag! Turn it right side in and check it out! You're ready to go to the pool!

Questions? Comments? Concerns? Let me hear them! :) Don't forget! If you have a Pin that you want me to try out or have one that you've tried and want me and everyone else to know about it check out the "Suggested Pinsperiments" and "Pinsperiments From You" pages!
 
Picture
Hey Ladies and Gents! Don't you hate it when you go to the pool and your stuff ends up all over the pool? On top of the fact that you have a constant fear of setting your phone or book down somewhere with it ending up in a puddle? I know I do! Well one day, on Pintrest I came across a towel that drapes over the seat part of your pool chair  and it had POCKETS! So the first thing that I thought was I have to have this! One thing that you will soon learn about me is that anything with pockets, I MUST own! I love pockets! I think they're so handy! Sadly, the pin I found was what I call a "Trickery Pin"...What a trickery pin is, is a pin that shows something made out of household materials and says "DIY!" in the caption, but in reality it is just a link to go buy that item...man I can't stand trickery pins...So just for you DIYers I created a "How-To" so that you can make this handy pool item yourself! However, if you just like this and don't want to take the time to make one of your own I have attached the link to the site to buy them to this picture above. These are so handy! They will hold you suntan lotion, phone, mp3 player, book/magazines, snacks, sun glasses, etc.

                                                                        How-To Pool Pocket Towel

Picture
1. First and most obviously, you need to find a towel. One that you don't
absolutely love and one that is a little bit thinner than your other towels. The
towel that I used came up to about my neck, I'm 5' 7.5" to give you an
indication of length.  


2. To start, I laid the towel out on the desk at my mom's
house and determined about how wide a lounge chair is and lined it up with the
center of the towel. As seen above. I then pinned the spot where the lounge chair would be as a reference point

Picture
3. I picked some of the things that I wanted my pocket towel to be able to hold so I could judge where to pin the pockets. If you look at the picture you can see that I have the magazine standing up, however, when I tested it I decided to resize the pockets so that the magazine could lay sideways, this worked much better! Also, as you can see I originally had very shallow pockets, but my mom pointed out to fold the towel up so that the pockets started just below where the edge of the lounge chair was. And it's suggestions like that that I keep my mom around!

Picture
***To the right is a picture or the towel when it is pinned with the magazine now laying on it's side and the pockets have been made deeper.***

***The pictures below show more of the pinning of the pockets, including how to pin for a water bottle pocket.***

4. Once the pinning was finished it was time for mom to step in! We used white
thread since it was a white towel. She did a straight stitch. To make the
pockets stronger she did a double stitch, meaning that once she sewed down the
pocket once she turned the fabric around and sewed back up the pocket.
Picture
Once all of the sewing is done you can test out the pockets to make sure that they work to your liking. And voila! You have your very own pool pocket towel!

**Additional options: We left our pool pocket towel with the edges unbinded, however, you can bind them with the sewing machine or by buying binding fabric.***

**Another nice thing about this towel is that you can put everything that you are taking to the pool and fold the towel up and stick it in your beach bag with your regular towel and everything is neat and organized!**